Wednesday, 16 September 2015

Spring has sprung!


Some type of magnolia?
Spring is finally here and it is such an exciting time in the garden!


Not only is is time to plant so many vegetables, but there are flowers popping up out of nowhere on what seems like a daily basis.
Some kind of giant camelia
Our own red carpet..


The previous owners of our house obviously enjoyed gardening and have planted so many amazing things, many of which I cannot identify.

Mystery Orchid...
A pretty little blue flower (?)
Freesias
I was delighted to discover orchids in the garden the other day, the freesias are blooming and smell incredible and there is an amazing tree filled with yellow flowers near the water tank...
Yellow flowers covering a tree
Not sure what it is.


A green-thumbed friend of mine believes that these are some kind of insect-eating plant...


Tuesday, 15 September 2015

Growing Native Bush Spices- Niche Market

Bush Spices
As you can imagine, starting an organic farm has put me on a steep learning curve. I might have signed up to a lengthy and expensive course in horticulture, but instead I have been seeking out as many cheap and free short courses as I can to learn what I need to make this lifestyle venture successful.

Courses have been available via the Digger's Club for a small fee, or for free via libraries, councils and various community groups.
Leonie Parker

In the last 11 months, I have completed short courses in:
- Superadobe natural building
- Keeping chickens
- Starting a successful small business
- Growing a Kitchen Garden
- Moon Planting
- Sowing Garlic
- Soil Health
- Composting & Worm Farms
- Grant Application Writing
- Citrus Growing and Care
- Using Social Media in your business.
- Growing Native Australian Bush Spices for Market

I have courses in Event Planning, Beekeeping and Growing Australian Native Plants from Seed coming up within the next month and really looking forward to those.

Here are some pics from the Growing Native Australian Bush Spices for Market course, held at Leongatha library by Leonie Parker from Brushtail Bush Foods.

She shared pictures showing the transformation of her 40 acre property in Gippsland from paddocks to a garlic and passion fruit growing venture (which didn't work out) to a much more successful venture growing native bush spices.

Mountain Pepper

Some of the most successful plants she has grown are Mountain Pepper, of which both the berries and leaves can be harvested for use just like conventional pepper, Strawberry Gum and Round Leaf Mint.

Round Leaf Mint
These are sold to chefs, companies who turn them into value-added products such as syrups and spice mixes and at Farmer's Markets as dried spices.

The downside is that you need to harvest quite a lot of the raw product to end up with relatively little dried spice (1kg of harvested mountain pepper leaves will yield 300grams of dried spice) .

The upside is that there is no need to use any kind of pesticide, herbicide or fertilizer, due to the fact that these are native plants.

I am seriously considering adding some of these plants to our property.

Lemon Myrtle (left) and Warrigal Greens (right)


Friday, 11 September 2015

The new lawnmowers!

Dalgo (front) is a young pinto, and Mr Horse (rear) is an elderly thoroughbred ex-racehorse.
We've been here for four and a half months now and it really is starting to feel like home. At first it felt rather isolated, it is a 15 minute drive to the nearest town and that is a big adjustment for someone who has spent the majority of my adult life living in city apartments!
However, we have started to meet a few of our neighbours and have realised how incredibly friendly and welcoming everyone is around here.

The general impression is that country people are helpful, generous and support each other. Well, it's all true. When we first moved in our neighbours across the road came over with a wheelbarrow-load of wood because it was winter and we may not have arranged firewood.

Since then, we have shared plenty of cups of coffee, swapped advice and various baked delights and been extremely thankful when someone has offered the use of a machine or piece of equipment that they have to make a particular task easier. The gorgeous border-collie cross kelpie farm dog who lives on the property down the hill visits every day to play with our daughter, every time you drive past someone they wave. It's fantastic.

The new lawnmowers...

Recently I came home to a note on the front door from a neighbour we hadn't yet met, asking if we'd be interested in agisting some of her horses. We have 11.5 acres and no animals to eat the grass, so we agreed and now we have two very friendly, beautiful lawnmowers that come and greet us whenever we go outside.


Thursday, 20 August 2015

Moon Planting

When I first heard about Moon Planting or 'harnessing the power of the moon when gardening', my immediate reaction was something like 'wow, what a bunch of hippy crap'. Yep, really.

How times have changed! I have realised how completely ignorant I was. Upon further inspection it is not in any way hippy crap, rather, it is a scientific method of using the naturally existing energy of the moon and working with it for healthier plants.

We all accept the the gravitational pull of the moon affects the tides, well the same pull also has an effect on the run of sap within plants and, (to my very basic understanding, I'm still learning about this), there are different times of the month when the energy is either pushing down or pulling up. There is also a positive effect of extra light when the moon is full. There is a much better explanation at the fantastic Organic Gardening website:
https://www.organicgardener.com.au/articles/full-moon-rising

So, needing all the help I can get, including lunar help, I went out and purchased a moon calendar. This shows the moon's activity for each day of the year. I also found a handy monthly 'what to do in the garden' perpetual moon calendar chart at the Digger's shop in Heronswood.


This wonderfully simple tool tells me exactly what to do in the garden and when. All I have to do is line up the new moon on this chart with the date of the new moon at the start of each new month.

This month, the best time for sowing seeds for above-ground plants is from the 17th until the 27th, so yesterday was a big planting day for us.

We sowed seeds for Tatsoi (Chinese flat leaf cabbage), Sugarloaf Cabbage, Broadbeans, Dwarf Snow Peas, Broccoli (Romanesco), Mixed Carrots and Parsnips and filled up the side garden bed in the Kitchen Garden quite nicely.


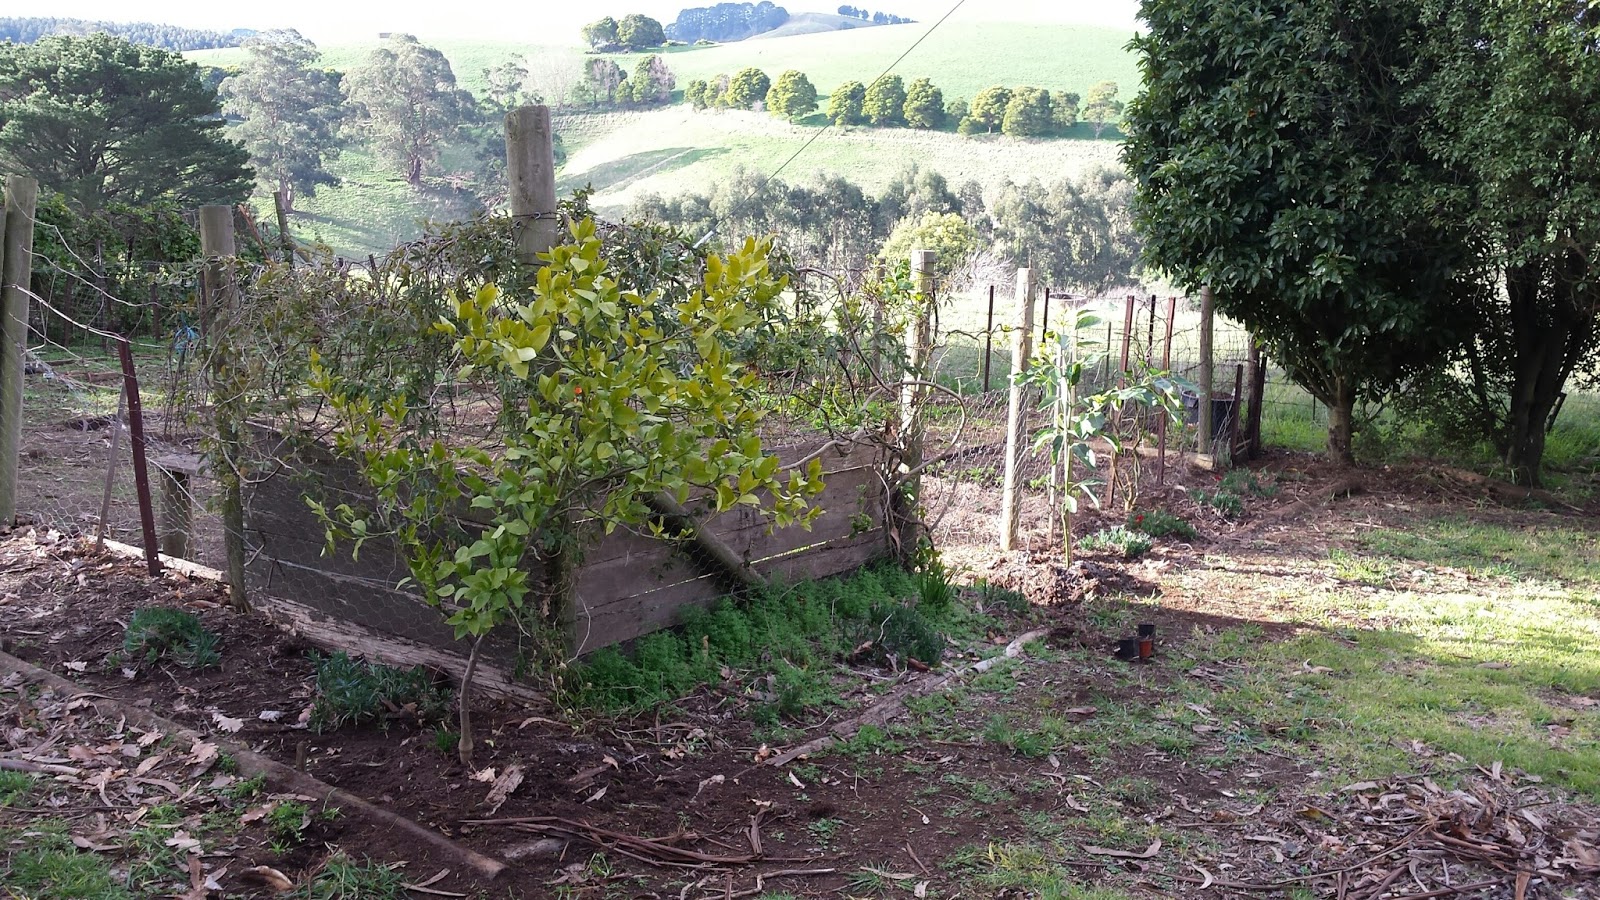
Unfortunately I only realised later than I should have waited until the best days to plant root crops for the carrot and parsnip seeds, so these might not do so well. But as you can see, our lettuce, strawberries and garlic are all doing very well.

I popped about 8 avocado seeds into the ground, just hoping that something might happen there, a 'Curry Plant' which was a gift from a friend in the herb garden, (the leaves smell like curry) and and last of all I planted a lovely little Macadamia tree. I had to make sure that it was a cool climate variety so that it has half a chance of surviving in our area. I love the idea of having my own Macadamias!

The little silver one is the Curry Plant.

I also planted 40 Asiatic Lily bulbs in white, pink, yellow and orange around the sunny side of the big concrete water tank, which will look gorgeous in Summer if they grow nicely.

Tuesday, 4 August 2015

Choc-coated Liqueur Cumquats :)

We have a wonderful cumquat tree at the side of our house, about 3 metres tall, which has been absolutely brimming with gorgeous, juicy cumquats for the past few months.

Now, even though they are a lovely fruit, I know of very few things to actually do with them.

I have sold a few kilos to both of the shops we have regular orders with and I certainly have made A LOT of delicious marmalade, but I wanted to find another use as I have been foisting jars of marmalade upon everyone I know since we moved here!

Making the Liqueur
So...after a bit of internet trawling, I came across this great recipe for Cumquat Brandy Liqueur:
http://www.food.com/recipe/maggies-lethal-kumquat-liqueur-271072

Pretty simple really, wash about 25 cumquats and prick them with a fork, put them in a large jar, add 700mls of brandy and 2&1/4 cups of sugar. Rotate the jar daily to move the sugar around and when it has completely dissolved (about 3 weeks) remove the cumquats, bottle the liqueur into smaller, nice bottles. Put them in the pantry for 6 months to allow the flavours to develop and then drink as desired.

If you leave the cumquats in the brandy for too long, they will soak up all the alcohol and your liqueur will be lacking a little punch. So that's the liqueur itself, but then...what to do with these lovely little brandied cumquats?

Slightly dried segments


The recipe's author suggests dipping them in chocolate for a lovely after dinner treat, I thought that they may be slightly too large and juicy for that, so I sliced them into 6 or 8 segments each, depending on the size of the cumquat, put them on a baking paper lined tray and into the oven for about half an hour on 120 degrees.

After that they had dried slightly and started to caramelize just a little, so I dipped them in dark (62%) chocolate and let them dry on baking paper at room temperature in the pantry overnight.

They are brilliant!! My husband and I both love these tasty little morsels so much that when I told him I had sent some to his lovely sister he looked at me incredulously and said "Why??!".


Melt the chocolate in a glass bowl over a saucepan of simmering water- dip in the cumquat segments and...
...voila! Delicious delicacies!

Needless to say, I am making another batch. There will be lots of Cumquat Brandy Liqueur at our Christmas this year and lots of delicious choc-dipped liqueur cumquats in the meantime! Mmmmmm....


Thursday, 23 July 2015

The Herb Garden

The healthy looking avocado tree.
The planting along one side, herb garden, chives, lettuce, strawberries,
dwarf rhubarb, garlic and the kaffir lime.
It seems as though establishing the herb garden and the decorative floral border around the Kitchen Garden has been my way of procrastinating over how to actually start the kitchen garden. I'm not sure why I feel ill-equipped to set this up, but I need to hit the gardening books and sort out a design pronto because after clearing the it out completely, all I have managed to do is plant down one side and if I don't get to putting in some actual garden beds soon the weeds will devour the cleared ground all over again!

Still, I now have the beginnings of a lovely Herb Garden.

After another visit to the Diggers Club shop at Heronswood I came away with:

- Rosemary (plant)
- Thyme (plant)
- Lavender (plant)
- Moroccan Mint (plant)
- Spearmint (plant)
- Stevia (plant)
- Wildflowers for Bees (seeds)

I also had a sad looking basil plant from the supermarket to put in the ground (not sure if that will live) and 8 cuttings from blackcurrant and redcurrant bushes kindly given by a friend. What these even look like as plants is beyond my knowledge at this point as right now they just look like sticks, but I looked online to find out how to plant them and now they are in the ground along the same fence as the blueberries and raspberries.

The modest beginnings of a herb garden, hopefully it will fill out a bit in spring.
The herbs are all planted in a sunny corner of the kitchen garden. The mint plants I put in a pot on the advice of my lovely mother in law, as they will apparently run riot and take over the garden if you don't keep them contained. The rosemary, thyme, stevia and basil went in with the continental parsley, coriander and oregano that I had already planted.

The decorative border, before...
...and after! With the succulents and flower seeds all tucked in.
The decorative border outside of the garden, which already had some flowers planted, was overgrown with weeds too. So we cleared that out and put in more plants and flower seeds to attract bees and encourage 'helpful' bugs. I planted the Diggers' wildflowers for bees mix (conflowers, dill, poppies, flax, salvia, pincushion and coriander), Flanders Poppy, Aquilegia (which I know nothing about, but my Aunt gave me seeds saved from her old farm), Nasturtium Ladybird (which you can eat in salads), and lavender.

I also managed to get the lemon tree and all of the succulents saved from our last house into the ground, then added to the main garden the kaffir lime and a dwarf rhubarb. Closer to the house I added a small persian rose bush called 'for your eyes only' to the garden and I planted the coffee bush, which wasn't looking particularly healthy (though that could just be the cold), near one of our water tanks which is prone to overflowing. Apparently coffee plants like plenty of water.


Friday, 3 July 2015

New plants :)

The fruit selling is going well, not yielding hundreds of dollars yet, but giving me enough to purchase some starter plants. After saving all profits for a few weeks I went and splurged at the local nursery and bought:

- 1 Avocado tree (Hass) which is about 5 foot tall and should be productive within 2 years
- 2 Blueberry bushes (Northland and Denise)
- 7 Raspberry canes (Nootka, Autumn Heritage, Chilliwack)
- 11 Strawberry plants
- Peat bricks (for planting the avocado tree)

The Strawberries like to be planted on top of a mound and then mulched with straw, or in my case, sugarcane mulch generously left by the farm's former owners.

Strawberry mounds, mulched well with Sugarcane mulch

Northland Blueberry


It might sound incredibly ignorant, but I didn't even know that different varieties of the same type of plant fruit at different times of the year! So the idea of buying several varieties of berries is that they fruit at different times of the year and you get fresh fruit for longer periods.

Denise blueberries will fruit early October to January and Northland will fruit for a different and longer period, December to March. With a bit of luck we'll have blueberries for 6 months of the year!

The same applies to the Raspberries. These I had to plant in a particular way, along a supporting fence oriented North-South for even sunlight. I needed to dig a trench along the bottom of the fence and add manure and peat to the soil before planting. The peat I bought at the nursery and the manure I was lucky enough to get for free from a neighbour with horses :)

Blueberry bushes and Raspberry canes planted and ready to go!
Woohoo! Free horse poo!


The Avocado tree needed special attention, apparently my usual method of planting trees (just sticking them in the ground) wasn't going to cut it.

So I chose a nice, sheltered spot with at least 4 hours of sunlight per day. There is a slope to the site to aid drainage as Avocados need well drained soil. I dug the hole and added peat to the bottom as per the advice of the lovely lady at Town Centre Nursery in Mirboo North then popped in my new tree, built a mound around the base, dug a channel on each side to hold excess water and hoped for the best!